This post focuses on me being lazy. In the previous post, I talked about building a custom image and posting it to the Docker Hub. I have also talked about creating a Git repo and storing everything in it thus far. What if we could make a commit rebuild our image for us? As luck would have it, you can do this!
This post is going to focus on making that very simple change to your Docker Hub repository so that every commit causes the image to be rebuilt to the latest. How fun!
Connecting Docker Hub to Your Git Account
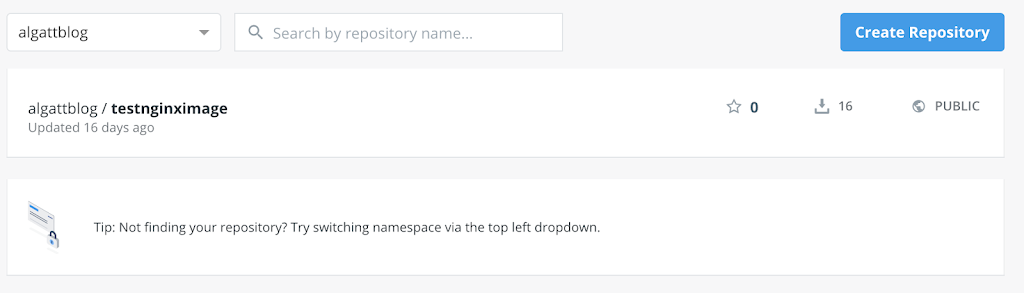
The major thing to accomplish here is configuring Docker Hub to monitor Git. In order to do that, you’ll need to first sign into your Docker Hub account. This should bring you to the main page where you see the list of repos you maintain:

From there, click on the repo that you plan to configure. In my case, it’s the testnginximage repo. On the resulting screen, click on the Builds link to reveal the below page:

Click on the Link to GitHub button, to open your preferences to configure linked accounts.

Click the Connect link on this screen, to link to your GitHub account. If you are already signed into GitHub, Docker Hub will automatically connect to whatever account you are signed in with. If you are not already signed into GitHub, you’ll see the below login to GitHub screen:

Login to the GitHub account you used to store your Dockerfile we created in the previous post. Once connected, you’ll return to your Docker Hub profile with your GitHub account connected and the account name used listed:

At this point, you now have your Docker Hub and GitHub accounts connected. The next step will be to enable automatic builds.
Enabling Automatic Builds in Docker Hub
With Docker Hub and GitHub connected, the next step is to tell Docker Hub which repo to use and where the Dockerfile is located. In order to do that, go back to your repo and once again, click on the Build link. Within the Build screen, again, click on the Link to GitHub button. This time, the button should say “Connected” on it as shown below:

On the resulting page, configure the username and repo you would like to use as your source. Since I have been building everything in my mysamplerepo repo, I’m choosing this from the drop down:

In my prior examples, I created the Dockerfile in the nginxdocker directory within my mysamplerepo. Assuming you have done the same, scroll down the page and set the Build Context to be the nginxdocker in the Build Rules. This Build Context would be the path from the root of your repo that contains the Dockerfile. If you’ve placed your Dockerfile in a different path within your repo, make sure you have Build Context configured for that particular path.

Once you have this all configured, click on the Save and Build button at the bottom of the page. This should take you back to the Build page where you can monitor the status of the build.

Monitor the progress to make sure everything builds correctly. Once done, you should see a success status for the build.

Use a Commit to Generate a Build
Now that we have everything connected and working, let’s see if we can do a commit to our repo and confirm that the commit makes a build trigger. Let’s just make a simple change and no longer expose port 443 from for the image:
FROM ubuntu

 MAINTAINER Scott Algatt

 RUN apt-get update
     && apt-get install -y nginx libnginx-mod-http-lua libnginx-mod-http-subs-filter software-properties-common
     && add-apt-repository -y universe
     && add-apt-repository -y ppa:certbot/certbot
     && apt-get update
     && apt-get -y install certbot python-certbot-nginx
     && apt-get clean
     && rm -rf /var/lib/apt/lists/* /tmp/* /var/tmp/*
 COPY ./conf/nginx.conf /etc/nginx/nginx.conf
 COPY ./conf/site.conf /etc/nginx/sites-available/default

 EXPOSE 80
 CMD ["nginx"]
With that change, let’s do a commit and push:
$ git commit -a
 [master 0e01193] Removing port 443
  Committer: Scott <[email protected]>

  2 files changed, 2 deletions(-)
$ git push origin master
Counting objects: 6, done.
Delta compression using up to 4 threads.
Compressing objects: 100% (6/6), done.
Writing objects: 100% (6/6), 499 bytes | 499.00 KiB/s, done.
Total 6 (delta 3), reused 0 (delta 0)
remote: Resolving deltas: 100% (3/3), completed with 3 local objects.
To github.com:algattsm/mysamplerepo.git
1d4d448..0e01193 master -> masterAfter performing the commit, refresh your Build page in Docker Hub and you should see a build trigger:

This means that you’ll be able to simply use your GitHub to generate a new image anytime you like! This also means that with every commit, you’ll be exposing the latest version of your image on Docker Hub.
Referenced File
In case you want to make sure you have the correct file, here would be the only file I referenced in this post: